Setting up your first app
In this tutorial, you'll learn how to:
- Initialize a Copilot app
- Generate an API Key
- Connect to Copilot using the SDK
Requirements
Things you’ll need to complete this tutorial.
- You’ve created a Copilot workspace (sign up for free here).
- You’ve got an IDE to edit the app. We recommend VS Code.
- You’ve installed Node.JS version ^18.19.
- You’ve installed the package manager of your choice, we use Yarn.
- You’ve installed Git 2.28 or higher.
- You’ve got a web host to serve your deployed app. This guide uses Vercel - you should create an account there.
Instructions
Step 1: Create your app
The simplest way to setup an app is to fork Copilot’s custom app base.
- Fork the custom app repository.
- Clone the repository to your local file system.
git clone [email protected]:<your forked repo URL here> - Open the cloned repository in your text editor or IDE.
- Navigate to the cloned repository in your terminal so you can run commands.
Step 2: Register your app and get an API key
- In your Copilot Dashboard, navigate to the Custom App setup page.
- Fill in the name and icon for your app.
- (Optional): Add the URL(s) that will power your app. If you’re following these steps, you don’t have those URLs yet, so leave them blank and you’ll fill them in later.
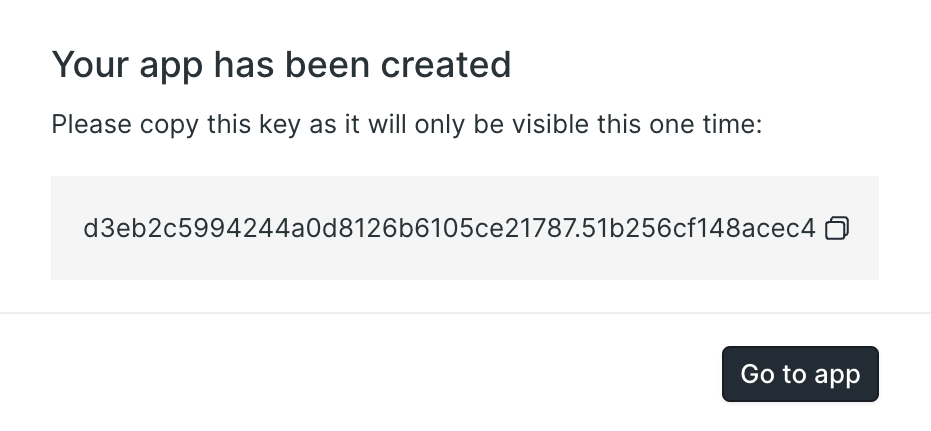
- Hit “Save.” You should see an API key that’s been generated for your app. Copy the API key, we’ll be using it in the next step when we set up your project in Vercel and add environment variables.
Step 3: Add your API key as an environment variable
- Create a project in Vercel. The simplest way to do this is from the command line in your project directory.
- First, install vercel if you don’t have it.
npm install --global vercel - Run
vercel link- You’ll need to log in to Vercel in your terminal
- Then, all the default options should be correct
- First, install vercel if you don’t have it.
- Take the API key from Step 2 and add it to your project.
vercel env add COPILOT_API_KEY
1. That command will prompt you for the value of the API key:What’s the value of COPILOT_API_KEY?Paste the API key and hit enter.
2. Then you will get a prompt to select your environment. You can hit the “a” key to select all environments. You can safely use the same environment variable for each environment. In local environments, the API key will fetch and mutate data from the workspace where the app was created. In production, we will reject any requests to the origin portal. - Then run
vercel env pull - You should now have an
.env.localfile in the local version of your project that contains your API key. The key is already setup to be included as a part of your preview and production deployments. - If in the Vercel UI, the project is not connected to the git repository, go ahead and connect it manually.
Step 4: Install dependencies and run the local server
- Open your terminal and make sure your project is the current working directory.
- Run the install command from your package manager of choice, for instance:
yarn install - Run the local development command:
yarn dev - After a few moments you should see a confirmation that the app has started and can be viewed at
localhost:3000 - Navigate to
http://localhost:3000and take a look at your app. It should have the basic “Welcome” page running.
You’re now ready to start developing your Copilot app. As a part of the custom app base, you’ve already got the SDK installed. For more information on fetching and mutating the data in your workspace, take a look at the guide to developing your first app.
Once you’ve made a change to your app, committed the change, and pushed it to your Github repo, move onto Step 5.
Step 5: Deploy
To deploy your app, follow the steps for deploying a Next.JS app on Vercel. The simplest way to deploy is from the command line in your project directory:
vercel deploy
Once you initialize a deployment, you should be able to follow along with the build steps. The goal of the deployment is to create up to 3 URLs that will act as the entry points for your app. You can determine which URLs you’ll need based on the specific needs of your app (initially, you will likely only have Internal and Client URLs).
| URL | Description |
|---|---|
| Client URL | A webpage that is served to clients in the portal. Initially, this will look like https://my-project-name.vercel.app |
| Internal URL | A webpage that is served to internal users in the dashboard. This will look like https://my-project-name.vercel.app/internal |
| Webhook URL | A POST endpoint that subscribes to https://docs.copilot.com/reference/webhooks-events. |
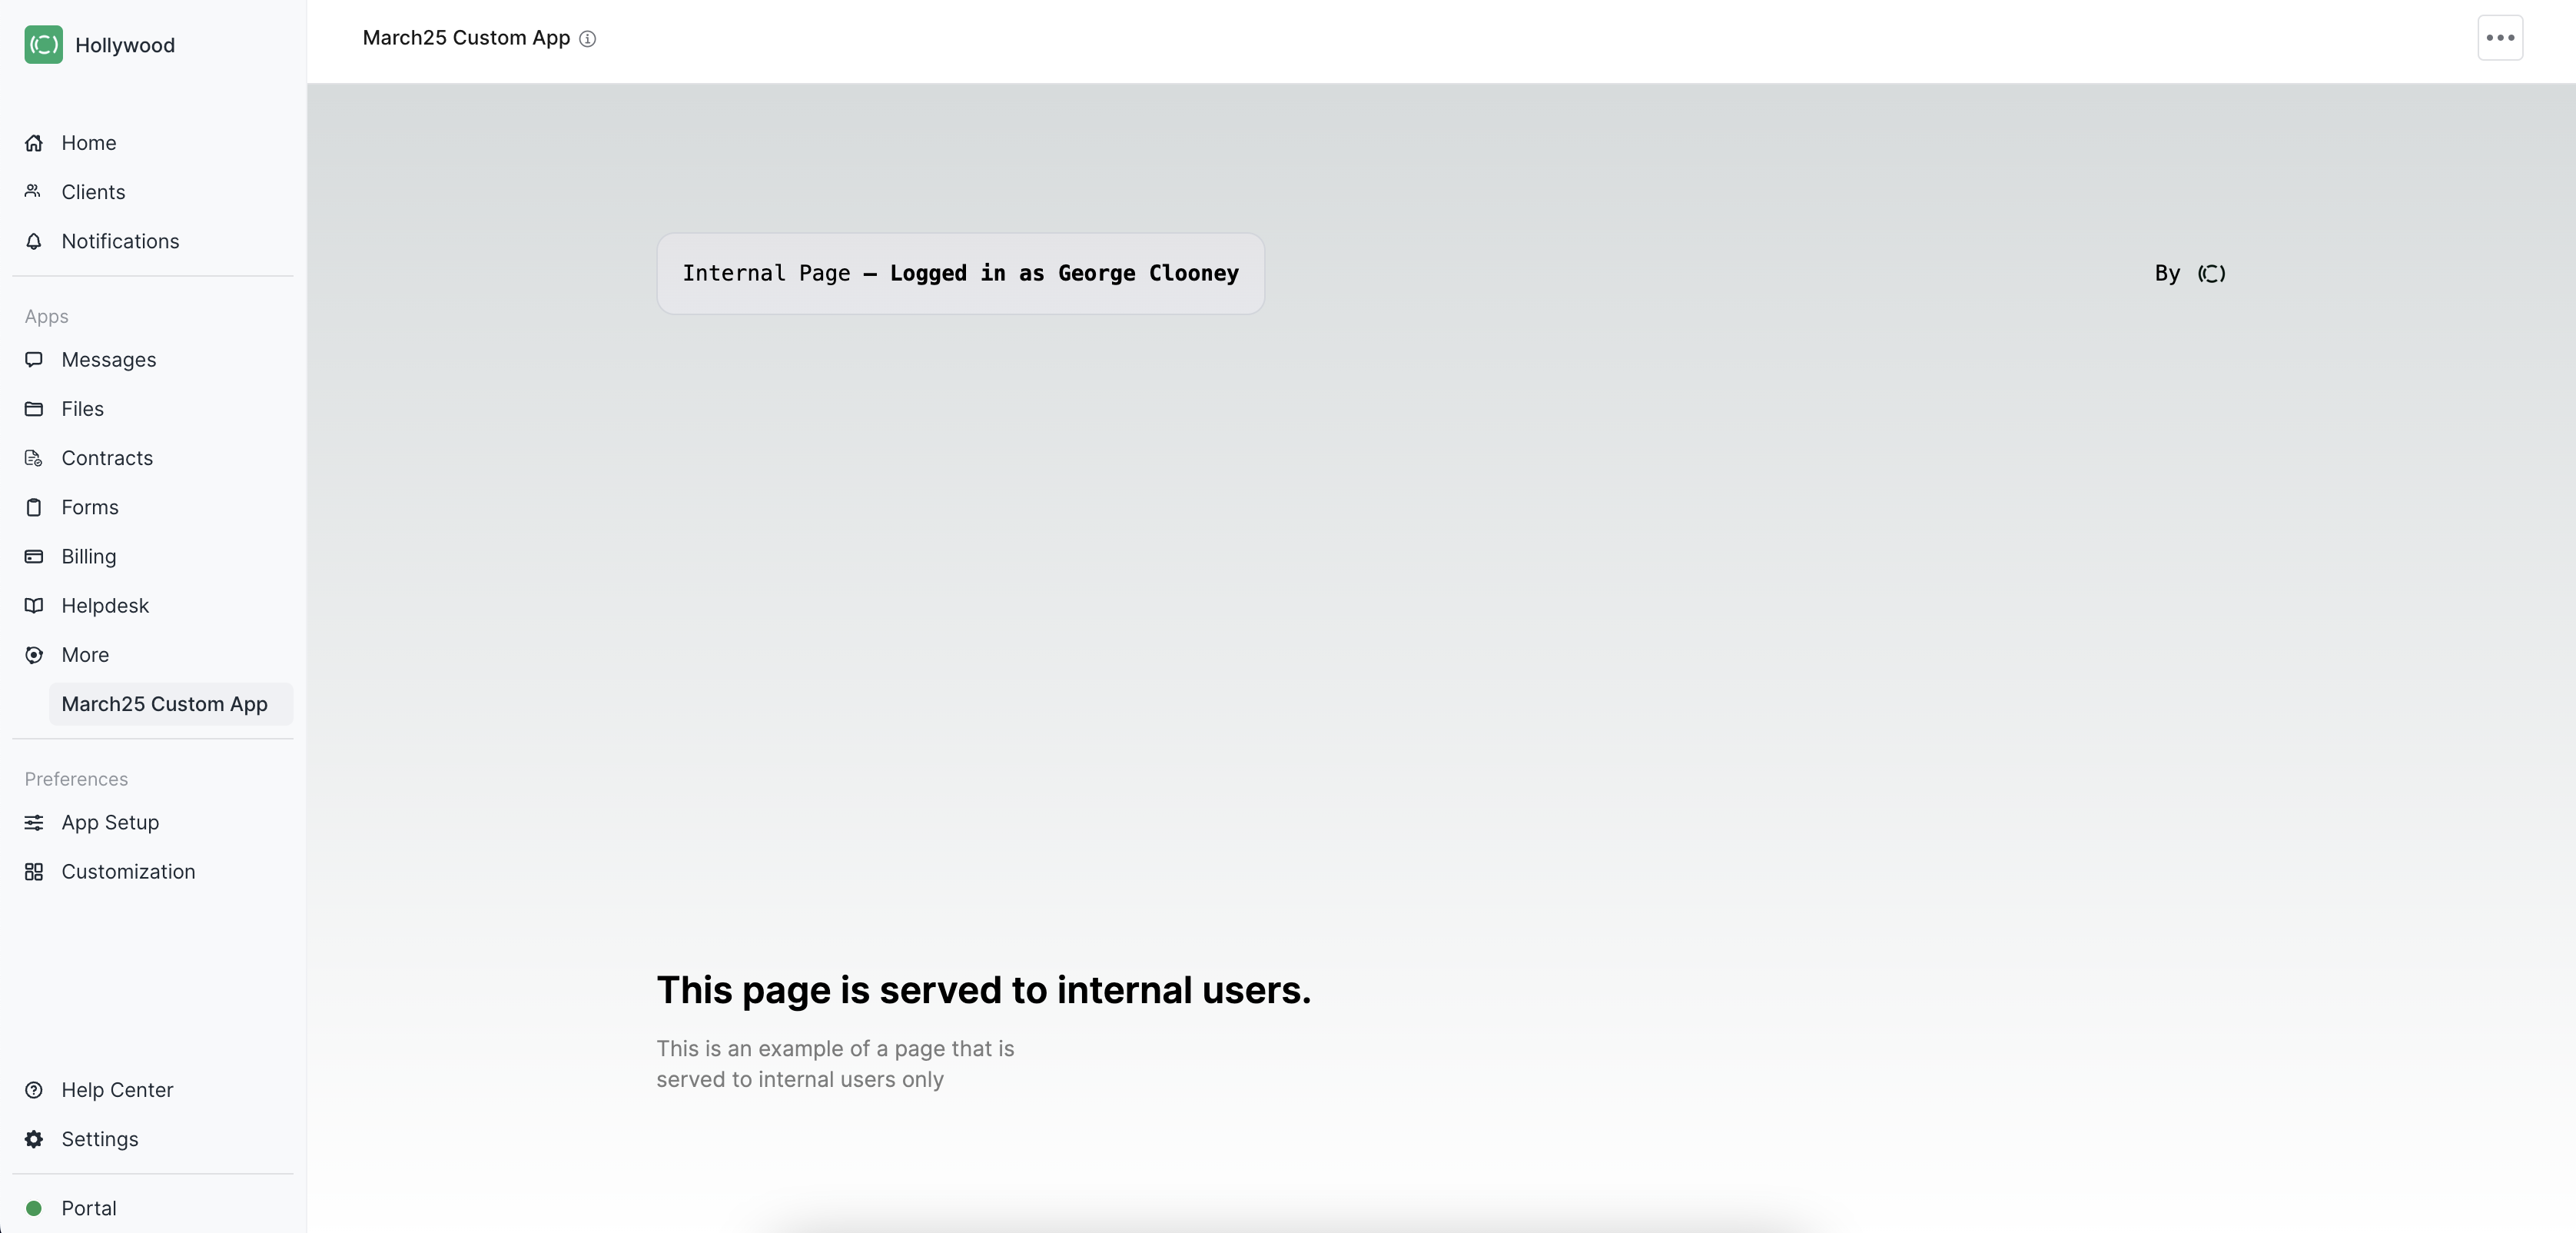
Now, go back to edit your app in the Copilot dashboard, and set the Client and Internal URLs. After you hit save your app is now installed, and you can navigate to it on the internal- and client-side in Copilot to test it out!
If you see an error that COPILOT_API_KEY is required, try redeploying your production deployment.
The internal experience will look like this inside your dashboard (note that the Internal User’s name is displayed after Logged in as):
Updated 8 months ago